How to Bottle Homebrew Beer? A Step-by-Step Guide
When I first started brewing beer at home, I quickly realized that bottling is one of the most crucial steps in the process. Knowing how to bottle homebrew beer properly ensures freshness, prevents contamination, and gives that perfect carbonation every brewer seeks. Over the years, I have honed my technique and learned from trial and error. In this guide, I’ll walk you through everything you need to know to bottle homebrew beer efficiently and effectively.
Why Bottling is Essential for Homebrewers
While some homebrewers prefer kegging, bottling remains the most accessible and practical method for most. Here’s why:
- Portability: Bottled beer is easier to store, transport, and share with friends.
- Aging: There no better way to age a bottle of a high ABV beer such as an Imerial Stout.
- Carbonation Control: Bottling with priming sugar allows precise control over carbonation.
- Affordability: Compared to kegging, bottling requires minimal upfront investment.
- Traditional Aesthetics: There’s something special about pouring a homebrewed beer from a glass bottle.
Essential Equipment for Bottling Homebrew Beer
Having the right equipment makes bottling a smooth and efficient process. Here’s what I use:
- Bottles: Clean, non-twist-off glass bottles (typically 12-ounce or 22-ounce bottles).
- Caps: New, sanitized bottle caps designed for capping homebrew bottles.
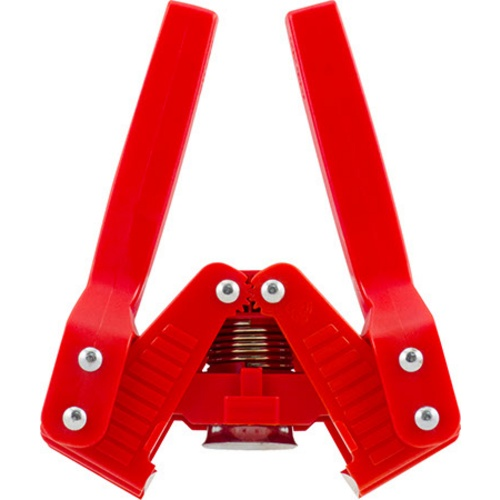
- Bottle Capper: A hand capper or bench capper to secure the bottle caps properly.
- Bottling Bucket: A food-grade plastic bucket with a spigot for easy siphoning.
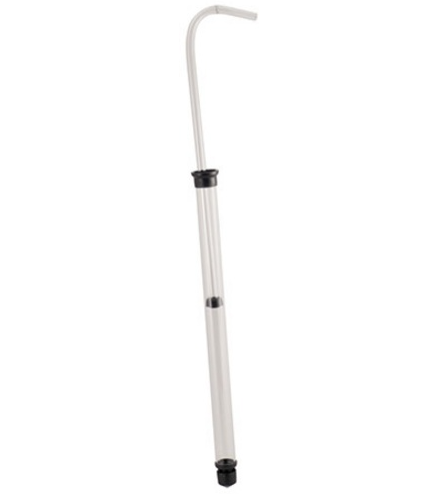
- Bottle Filler: A tube with a spring-loaded tip to allow precise bottling without spilling.
- Siphon or Auto-Siphon: To transfer the beer from the fermenter to the bottling bucket smoothly.
- Priming Sugar: Used to carbonate the beer naturally within the bottle.
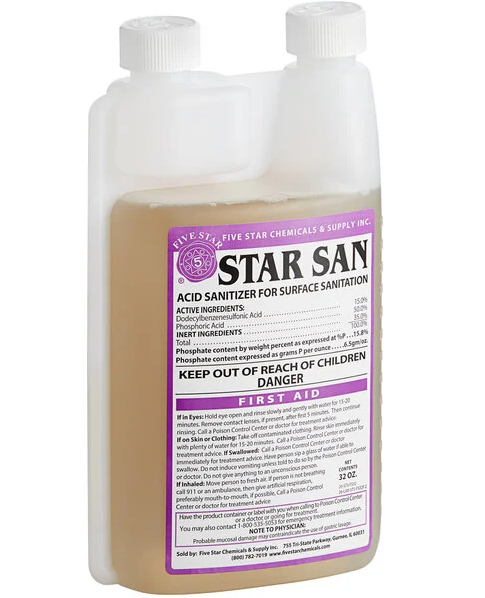
- Sanitizing Solution: I use Starsan or Iodophor to ensure everything remains free from contamination.
Check out thefull run down of all the brewing equipment at Brew.info.
Sanitization: The Most Crucial Step
One of the biggest mistakes new brewers make is neglecting proper sanitization. Any residual bacteria can ruin an entire batch of homebrew beer. Before I begin bottling, I make sure to sanitize:
- Bottles: Soaked in sanitizing solution and dried upside down on a bottle tree.
- Caps: Dipped in sanitizer or boiled for a few minutes.
- Bottling Bucket & Accessories: Every piece of equipment that touches my beer gets fully sanitized.
Preparing Priming Sugar for Carbonation
Priming sugar is essential for natural bottle carbonation. When I add it to my beer, the residual yeast consumes the sugar and produces CO₂, which builds up pressure inside the sealed bottles.
- Measure Correctly: I use about ¾ cup of corn sugar per 5-gallon batch.
- Boil the Sugar: Dissolving it in a cup of boiling water ensures even distribution.
- Mix Properly: I add the sugar solution to my bottling bucket before transferring the beer to ensure even carbonation.
Transferring Beer to the Bottling Bucket
Now comes the transfer process. Siphoning beer while minimizing oxygen exposure is critical for taste preservation. I use an auto-siphon to gently move my beer from the fermenter to the bottling bucket, making sure to leave sediment behind.
Bottling the Homebrew Beer
This step requires patience, but with practice, bottling can be quick and mess-free.
Step 1: Fill the Bottles
Using a bottle filler attached to the spigot of the bottling bucket, I fill each bottle to about 1 inch below the cap. This leaves enough headspace to allow proper carbonation.
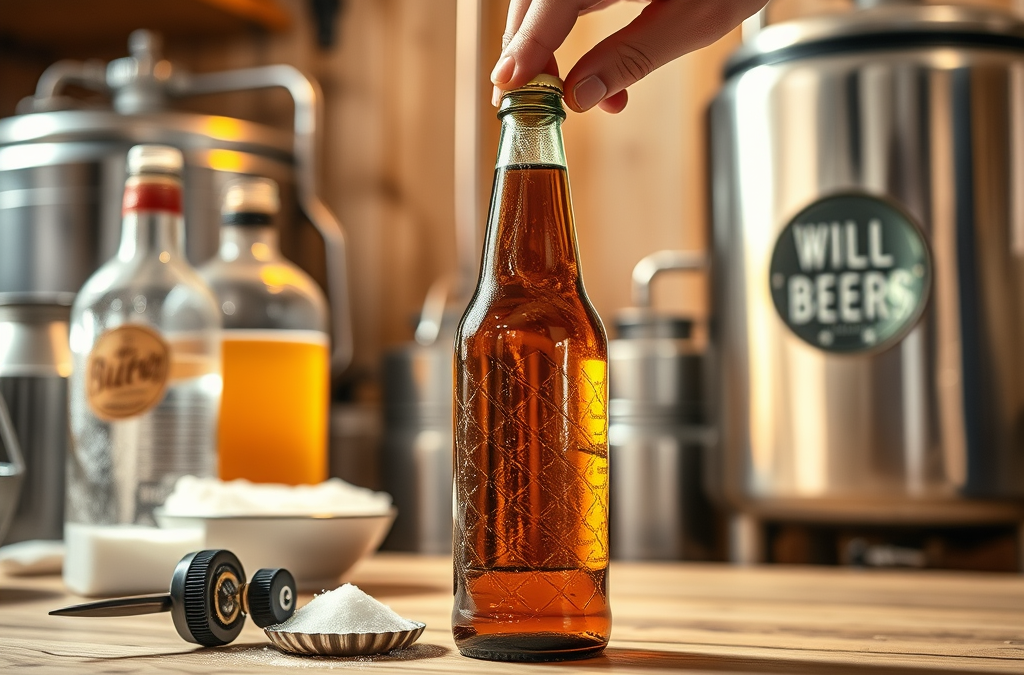
Step 2: Capping the Bottles
Once a bottle is filled, I immediately place a sanitized cap on top and use my capper to secure it tightly. I make sure all caps are sealed evenly to prevent flat or oxidized beer.
Step 3: Storage and Conditioning
After bottling, I store my bottles in a dark place at room temperature (65-75°F). They need at least two weeks to carbonate fully, though I often wait three to four weeks for optimal results.
Testing and Enjoying the Homebrew
After two to four weeks, I check the carbonation by chilling one bottle and gently opening it. If I hear the “pop” and see bubbles rising, it’s a good sign that carbonation is spot on. I pour it into a glass and evaluate:
- Clarity: Some homebrews benefit from extended conditioning for improved clarity.
- Carbonation Level: Proper bubbles and head retention indicate success.
- Taste: This is the most satisfying part—I enjoy the fruits of my labor and take notes for future batches.
Common Bottling Mistakes and How to Avoid Them
Through experience, I’ve learned to recognize and prevent common bottling issues:
- Over-carbonation: Using too much priming sugar can cause bottles to burst. I always measure carefully.
- Flat Beer: If beer lacks carbonation, I check for leaks in seals or insufficient priming sugar.
- Oxygen Contamination: Exposure to air ruins flavor, so I cap quickly to minimize oxidation.
- Sanitation Issues: Any bacterial infection can lead to off-flavors or cloudy beer. I meticulously sanitize every component.
Conclusion: The Satisfaction of Bottling Homebrew Beer
Bottling may seem daunting at first, but with careful sanitization, precise priming, and proper sealing, it becomes a rewarding step in the brewing process. I love the moment when I crack open a bottle of my homemade beer, knowing that I crafted it from start to finish. If you’re new to homebrewing, don’t be afraid to experiment and adjust techniques over time. Happy brewing!
© 2025 by brewandbeyond.com. All rights reserved. No part of this document may be reproduced or transmitted in any form or by any means, electronic, mechanical, photocopying, recording, or otherwise, without prior written permission of brewandbeyond.com.
Author: Dean
The Brewer's Corner - The place where I answer your homebrew questions (Beer, cider, wine, mead.....). Nothing is too crazy. You can reach me at TheBrewersCorner@proton.me