Want to learn how to make your own beer? Look no further! In this article, we’ll guide you through the step-by-step process of brewing your very own delicious beer right at home. From selecting the perfect ingredients to the fermentation stage, we’ll cover everything you need to know to become a master brewer. Get ready to embark on a flavorful journey and discover the art of beer-making in Brewing 101. We will be going over the process for all grain brewing.

Getting Started
Choosing the Ingredients
When embarking on your brewing adventure, the first step is to carefully choose the ingredients that will ultimately determine the flavor and quality of your beer. Consider the type of beer you want to brew and select the appropriate malt, hops, yeast, and water. Experiment with different varieties to create unique and exciting flavors.
Gathering the Essential Equipment
To brew beer at home, you’ll need a few essential pieces of equipment. These include a large brewing kettle, a fermentation vessel with an airlock, a thermometer, a hydrometer for measuring specific gravity, a racking cane, and a sanitizing agent. Additionally, investing in a grain mill, a wort chiller, and a bottling wand can elevate your brewing experience.
Sanitizing the Equipment
Before delving into the brewing process, it is crucial to ensure that all your equipment is properly sanitized. Cleaning and sanitizing your brewing equipment eliminates any potential bacteria or contaminants that could spoil your beer. Use a sanitizing agent to thoroughly clean all surfaces, fermenters, airlocks, and utensils, providing a clean slate for brewing.
Mashing
Understanding the Mashing Process
Mashing is a critical step in beer brewing, where you extract fermentable sugars from the malted grains. By soaking the grains in hot water, enzymes break down the complex carbohydrates into simpler sugars, creating a sweet liquid known as wort. Understanding this process is essential for achieving the desired flavor and body of your beer.
Mashing the Grains
To start mashing, begin by heating water in your brewing kettle to an appropriate temperature. Then, gradually add the crushed grains while stirring continuously to avoid clumps. The ideal temperature range for mashing is typically between 148°F and 156°F (64°C and 69°C), depending on the beer style. Allow the grains to steep for about an hour to ensure maximum sugar extraction.
Monitoring Mash Temperature
During the mashing process, it is crucial to monitor and maintain the mash temperature within the desired range to optimize enzyme activity and sugar extraction. Use a thermometer to regularly check the temperature and make any necessary adjustments by adding hot or cold water. Consistently monitoring the mash temperature will ensure a successful brewing process.
Sparging
What is Sparging?
Sparging is the process of rinsing the mashed grains with hot water to extract any remaining sugars and increase the volume of your wort. By doing so, you maximize the efficiency of your brewing process and enhance the flavor and quality of the beer.
Starting the Sparge
To begin the sparging process, gently pour hot water over the grains in your mash tun. The water should be around 168°F (76°C) to help dissolve the sugars effectively. Allow the water to flow through the grains slowly, rinsing away the residual sugars. Collect this liquid, known as the “first runnings,” into your brewing kettle.
Maintaining the Sparge Temperature
While sparging, it is important to maintain a consistent temperature to ensure optimal sugar extraction. If the temperature drops below 168°F (76°C), it can result in incomplete sugar extraction. Carefully monitor the sparge water temperature and make adjustments as needed to attain the desired outcomes.
Boiling
Preparing for the Boil
The boiling stage is where the magic truly happens. Transfer the wort from the kettle to a clean brewing kettle, leaving behind any sediment or particles. Place the kettle on a heat source and bring the wort to a rolling boil. Prepare for this stage by gathering your hops, as they will play a fundamental role in flavor, aroma, and bitterness.
Adding Hops
Hops are a vital ingredient that adds bitterness, aroma, and flavor to your beer. The quantity and timing of hop additions significantly impact the final character of the brew. Add the hops at different intervals during the boil, following the recipe guidelines or personal preferences. Take note of the alpha acid levels in the hops, as they influence the beer’s bitterness.
Monitoring the Boil
Throughout the boiling process, keep a close eye on the kettle to prevent overflow or scorching. Adjust the heat source as necessary to maintain a consistent boil. As the wort boils, it will undergo chemical reactions that sterilize the liquid and enhance the flavors. Maintain the boil for the recommended duration specified in your recipe.
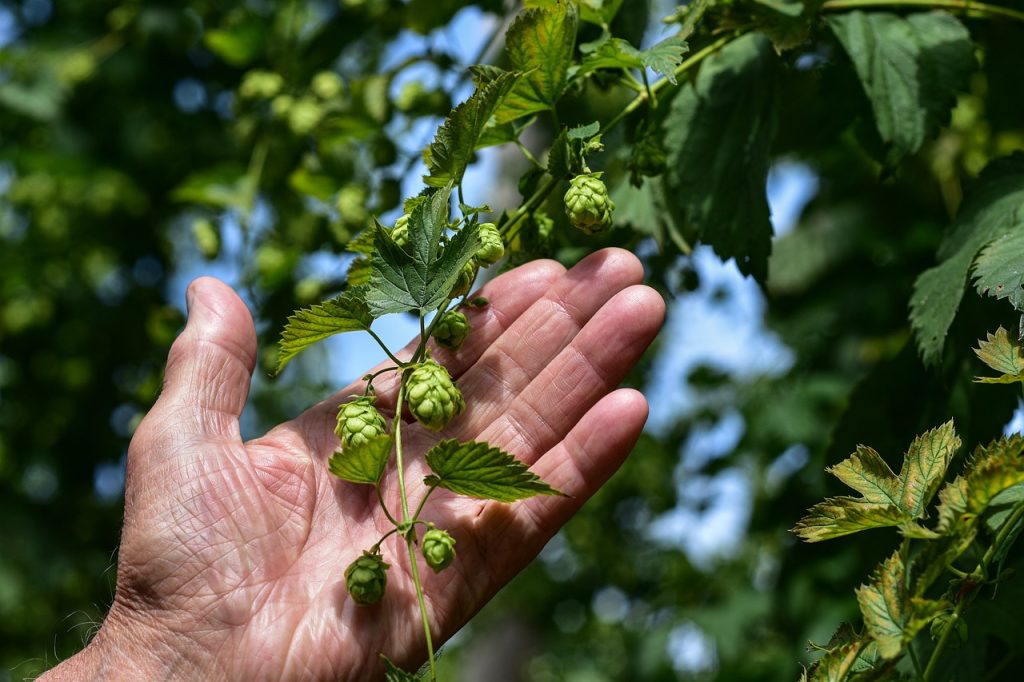
Hops – a main ingredient
Cooling
Importance of Rapid Cooling
After the boiling stage, it is essential to rapidly cool the wort to facilitate the fermentation process. Cooling the wort quickly helps prevent unwanted bacterial and yeast growth, ensuring a clean and healthy fermentation.
Using an Immersion Chiller
One effective method to cool the wort rapidly is by using an immersion chiller. This device is a spiraled coil made of copper or stainless steel. Submerging the chiller into the boiling wort while running cold water through it accomplishes the rapid cooling process. Stirring the wort gently with a sanitized spoon aids in the speed of cooling.
Ensuring Proper Cooling
When using an immersion chiller, ensure that the cold water coming into contact with the wort is potable and safe for consumption. Monitor the temperature of the wort as it cools, aiming to reach the desired range specified by your yeast strain. Proper cooling not only prevents contamination but also sets the stage for a healthy fermentation process.
Fermentation
Transferring to the Fermentation Vessel
Once the wort has been sufficiently cooled, transfer it to a sanitized fermentation vessel. Avoid any splashing during this process, as it can introduce unwanted oxygen. Make sure to leave enough headspace in the vessel to accommodate foaming during fermentation.
Pitching the Yeast
Yeast plays a vital role in the fermentation process, converting the sugars in the wort into alcohol and carbon dioxide. Select the appropriate yeast strain for your intended beer style and pitch it into the fermentation vessel. Follow the instructions provided by the yeast manufacturer for the recommended pitching temperature and quantity.
Monitoring the Fermentation Process
The fermentation process typically lasts between one to two weeks. Ensure that the fermentation vessel is properly sealed with an airlock to allow carbon dioxide to escape while preventing oxygen or contaminants from entering. Monitor the airlock regularly, observing the consistent release of carbon dioxide bubbles as a sign of active fermentation.

Conditioning
Secondary Fermentation
Consideration of a secondary fermentation stage depends on the individual brewer’s preference. If desired, transfer the fermented beer into a secondary vessel, leaving behind any sediment. This secondary fermentation can help clarify the beer further and enhance flavors by allowing any remaining yeast to continue working.
Dry Hopping
Dry hopping is an optional step during the conditioning phase that involves adding hops directly to the beer. This process imparts unique and intense aromas to the brew. Place the hops in a sanitized mesh bag and add them to the secondary fermentation vessel, allowing the beer to extract flavors slowly.
Clarifying the Beer
To clarify the beer, ensure that it remains undisturbed during both the primary and secondary fermentation stages. Gentle handling and avoiding excessive movement prevent sediment from being disturbed, resulting in a clearer final product. Maintaining proper temperature control throughout the conditioning process aids in clearing the beer.
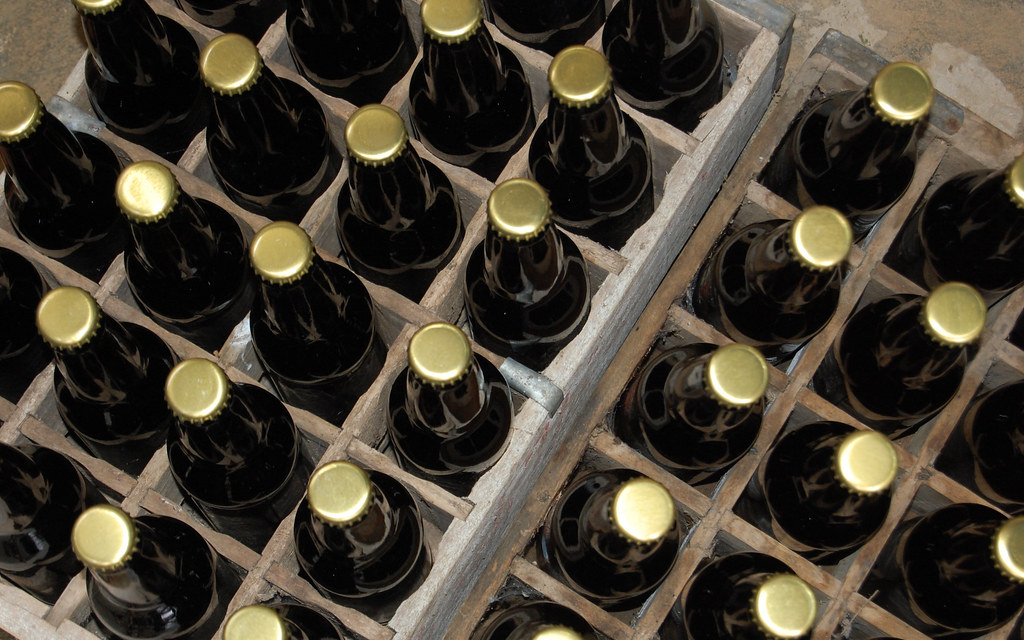
Bottling
Preparing and Sanitizing Bottles
Before bottling, it is vital to clean and sanitize the bottles thoroughly to eliminate any potential contaminants. Remove any labels and clean the bottles with a sanitizing agent, ensuring they are completely rinsed before use. Keeping your bottles clean guarantees the longevity and quality of your beer.
Adding Priming Sugar
Priming sugar is added to the beer just before bottling, enabling carbonation. Calculate the required amount of sugar based on the beer style and desired carbonation level. Dissolve the priming sugar in boiled water, allowing it to cool before adding it to the bottling bucket. Blend the sugar solution gently with the fermented beer to avoid disturbing sediment.
Filling and Capping the Bottles
Fill each sanitized bottle with the carbonated beer, leaving sufficient headspace for proper carbonation. Use a bottling wand or tube to precisely fill the bottles, minimizing oxidation. Cap the bottles securely, ensuring a tight seal to retain carbonation during the aging process.

Carbonation
Storing the Beer
Once bottled, store the beer in a cool, dark place for proper carbonation and aging. The ideal temperature range may vary depending on the beer style but generally falls between 65°F and 75°F (18°C and 24°C). The beer will continue to ferment, producing carbon dioxide and creating natural carbonation within the bottle.
Allowing for Carbonation
The carbonation process typically takes around two to four weeks, depending on various factors such as yeast activity and temperature. During this period, refrain from opening the bottles to allow for optimal carbonation. Patience is key to achieving the perfect amount of carbonation in your beer.
Testing Carbonation Levels
Once the carbonation period has elapsed, it’s time to test the carbonation levels. Open a bottle and pour a small sample into a glass. Observe the presence of bubbles and the texture of the head to assess the carbonation. Adjust the carbonation levels in subsequent bottles by adding more priming sugar if necessary.
Enjoying
Refrigerating and Aging
After achieving your desired carbonation levels, refrigerate the bottles to slow down any further fermentation. This chilling process also enhances the flavor and clarity of the beer. Aging the beer in the refrigerator for a few weeks allows the flavors to mellow and harmonize, resulting in a more enjoyable drinking experience.
Pouring and Serving
When it’s time to savor your hard work, pour the beer into a clean glass gently. Tilt the glass at a slight angle while pouring to minimize excessive carbonation and create a pleasing head. Take a moment to admire the color, aroma, and clarity before raising the glass to your lips.
Savoring the Beer
Finally, savor the fruits of your labor. Appreciate the complex flavors, the delicate balance of malt and hops, and the refreshing sensation as the liquid touches your palate. Share your creation with friends and loved ones, and relish the joy that comes from brewing your own beer.
Remember, the brewing process is a craft that takes time and practice to perfect. Embrace the journey, learn from each batch, and continue experimenting. Brewing beer is not just a hobby; it’s an art form that allows you to express your creativity and passion. So gather your ingredients, sanitize your equipment, and embark on the wonderful adventure of homebrewing. Cheers!
© 2023 by brewandbeyond.com. All rights reserved. No part of this document may be reproduced or transmitted in any form or by any means, electronic, mechanical, photocopying, recording, or otherwise, without prior written permission of brewandbeyond.com.
