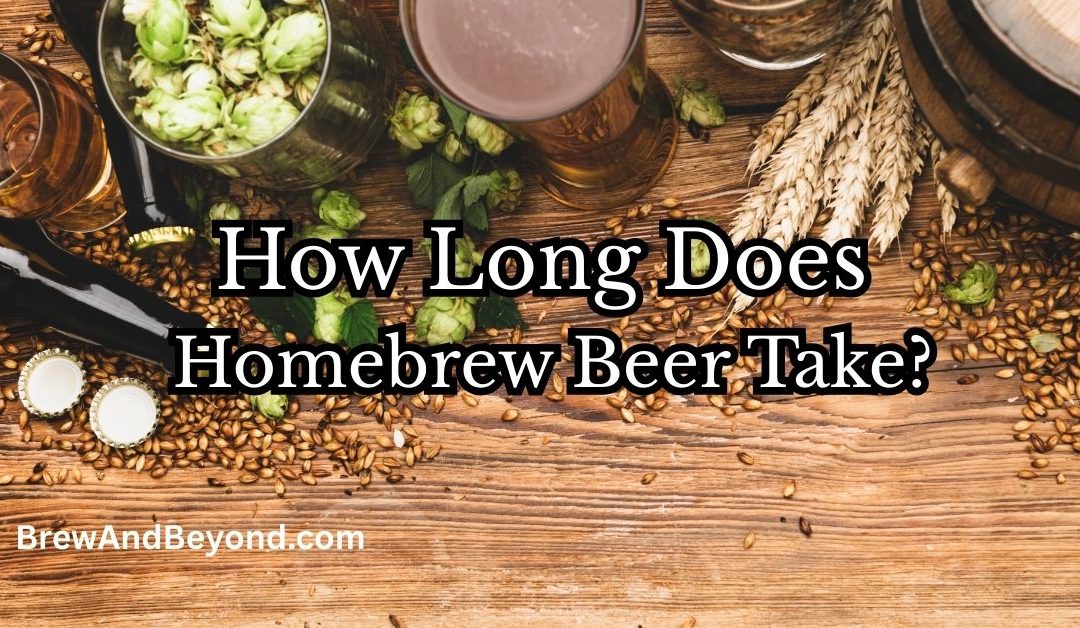
When I first started homebrewing, one of the biggest questions I had was: how long does homebrew beer take? The answer isn’t as straightforward as I initially thought. Depending on your brewing method, beer style, fermentation time, and conditioning process, the timeline can vary significantly.
Now that I’ve brewed countless batches using extract kits, partial mash, and all-grain setups, I can confidently walk you through the entire process, from brewing day to the first satisfying sip. In this guide, I’ll share everything I’ve learned about how long homebrewing takes, the factors that affect the timeline, and tips to ensure the best results.
The Homebrewing Timeline: An Overview
Understanding the timeline of homebrewing is crucial, especially if you’re eager to taste your creation. While the exact schedule depends on your brewing method and the style of beer you’re making, here’s a general breakdown of what you can expect:
| Stage | Extract Brewing | Partial Mash | All-Grain |
|---|---|---|---|
| Brew Day | 2-3 hours | 3-4 hours | 4-6 hours |
| Primary Fermentation | 1-2 weeks | 1-2 weeks | 1-2 weeks |
| Secondary Fermentation (optional) | 1-4 weeks | 1-4 weeks | 1-4 weeks |
| Bottling & Carbonation | 2-4 weeks | 2-4 weeks | 2-4 weeks |
| Conditioning | 2 weeks – several months | 2 weeks – several months | 2 weeks – several months |
As you can see, the biggest difference between methods is the time spent on brew day. Once fermentation kicks off, the timeline is essentially the same regardless of how you brewed your wort.
From start to finish, most homebrew beers take about 4 to 8 weeks before they’re ready to drink. However, some styles, like lagers or high-alcohol beers, require significantly longer aging times.
Brew Day: The First Step
Brew day is where the magic starts. This is when you combine your ingredients to create wort, the sugary liquid that yeast will eventually turn into beer. How long a brew day takes depends heavily on which brewing method you’re using.
Extract Brewing (2-3 Hours)
If you’re just getting started with homebrewing, there’s a good chance you’re using an extract kit. This was my entry point, and I appreciated how streamlined the process was. Extract brewing uses pre-made malt extract (liquid or dry) to provide the fermentable sugars, which means you skip the mashing step entirely.
A typical extract brew day looks like this:
- Sanitize your equipment. This is the single most important step in all of homebrewing. Contamination is the number one enemy of a good batch, and every surface that touches your wort or beer needs to be thoroughly sanitized. Don’t rush this. I learned that lesson the hard way on my second batch.
- Steep specialty grains (if your recipe calls for them). This is a short, simple soak in warm water to add color and flavor complexity.
- Dissolve the malt extract in water and bring to a boil.
- Add hops at the scheduled intervals during the boil, which typically lasts 60 minutes.
- Cool the wort quickly to fermentation temperature. When I first started, I used an ice bath.
- Pitch the yeast and seal up your fermenter.
Because you’re skipping the mash, extract brew days are noticeably shorter. I can usually have everything cleaned up in under three hours.
Partial Mash Brewing (3-4 Hours)
Partial mash is a nice middle ground I moved to after a few extract batches. You’re still using some malt extract, but you also mash a portion of grain to get more control over the flavor profile. The mash step adds roughly an hour to your brew day compared to extract, putting you in the 3 to 4 hour range.
This method is a great stepping stone if you want to start learning the mashing process without committing to a full all-grain setup.
All-Grain Brewing (4-6 Hours)
All-grain brewing gives you complete control over the recipe, but it comes with a longer brew day. Instead of using malt extract, you extract all fermentable sugars directly from malted grains through the mashing process. This involves holding the grains at specific temperatures for about an hour, then sparging (rinsing the grains) to collect as much sugar as possible.
A typical all-grain brew day includes:
- Sanitize your equipment.
- Heat your strike water to the target mash temperature.
- Mash the grains for 60 to 90 minutes.
- Sparge to rinse remaining sugars from the grain bed.
- Boil the wort for 60 to 90 minutes, adding hops as scheduled.
- Cool the wort to fermentation temperature.
- Pitch the yeast and seal up your fermenter.
All-grain is where I spend most of my time now, and while the longer brew days require more planning, the level of control over the final product makes it worthwhile.
Which Method Should You Choose?
If you’re a new brewer wondering which method to start with, extract brewing is a fantastic entry point. The shorter brew day and simpler process let you focus on learning fermentation, sanitation, and the overall rhythm of homebrewing. You can always work your way up to partial mash and all-grain as your confidence grows.
Primary Fermentation: 1-2 Weeks
Once brew day is behind you, fermentation is where the wort actually becomes beer. Regardless of your brewing method, this stage takes about one to two weeks for most ales, though some styles need more time.
The first few days are the most active. You’ll see vigorous bubbling in the airlock as yeast converts sugars into alcohol and CO2. This is always my favorite part to watch, especially with a new recipe. After that initial burst of activity, fermentation slows down as the yeast works through the remaining sugars and begins to clean up byproducts.
How Do I Know When Primary Fermentation Is Done?
This is one of the most common questions new brewers ask, and relying on the airlock alone is a mistake I made early on. Here’s what to look for:
- Stable gravity readings. Use a hydrometer or refractometer to check the specific gravity. If the reading holds steady over two consecutive days, fermentation is complete.
- Reduced airlock activity. The bubbling will slow significantly, though this by itself isn’t a reliable indicator since temperature changes and seal imperfections can affect it.
- Visual clearing. The beer will start to look less murky as yeast and other sediment settle to the bottom of the fermenter.
The gravity reading is really your most dependable tool here. I always take at least two readings a day or two apart, before moving on.
For many beers, primary fermentation is all you need. But in some cases, transferring to a secondary fermenter can be beneficial.
Secondary Fermentation: 1-4 Weeks (Optional)
Not all beers require secondary fermentation, and there’s plenty of debate in the homebrew community about whether it’s worth the effort and the small risk of oxidation during transfer. That said, I find it helpful for certain styles, including:
- Lagers, which benefit from extended cold conditioning (lagering) to develop a clean, crisp profile.
- High-gravity beers like barleywines and imperial stouts, where extra time allows complex flavors to develop and harsh alcohol notes to mellow out.
- Fruit or dry-hopped beers, where adding ingredients in a secondary vessel helps keep them separate from the heavy sediment (trub) in the primary fermenter, resulting in better clarity.
During secondary fermentation, the yeast continues to slowly work, cleaning up off-flavors like diacetyl and acetaldehyde. The beer also benefits from the separation from the bulk of the sediment, which can sometimes contribute unwanted flavors if left in contact for too long.
If you’re making a straightforward ale and you’re happy with the clarity, you can absolutely skip this step and go straight to bottling.
Bottling and Carbonation: 2-4 Weeks
Once fermentation is complete, it’s time to package your beer. If you’re bottling, you’ll dissolve a measured amount of priming sugar into the beer before filling your bottles. The small amount of remaining yeast will consume this sugar and produce CO2, which carbonates the beer naturally inside the sealed bottle.
This step typically takes 2 to 4 weeks, and a few factors influence how quickly you’ll get good carbonation:
- Temperature. Warmer storage temperatures (around 68-75°F) speed up carbonation. Don’t let the bottles get too cold during this phase, or the yeast will go dormant and carbonation will stall.
- Beer style and alcohol content. Higher-alcohol beers may carbonate more slowly since the yeast has already been stressed during fermentation.
- Amount of priming sugar. Using a priming sugar calculator helps ensure you’re adding the right amount for your target carbonation level and beer style.
My go-to method for checking carbonation is to refrigerate a single bottle after about two weeks and open it. If the carbonation is where I want it, the rest of the batch is ready to be chilled and enjoyed. If it’s still a little flat, I give the remaining bottles another week at room temperature.
A note on kegging: If you’re using a kegging setup with forced carbonation, you can cut this timeline down dramatically. Force carbonating with CO2 can have your beer ready in as little as a few days, which is one of the biggest advantages of kegging over bottling.

Conditioning: 2 Weeks to Several Months
Even after your beer is carbonated, conditioning continues to improve the flavor. This is essentially the aging process, where harsh or “green” flavors mellow and the overall profile becomes smoother and more cohesive. What’s actually happening is a combination of chemical reactions: residual yeast activity, oxidation of certain compounds, and the gradual blending of flavor components.
How long you should condition depends on the style:
| Beer Style | Suggested Conditioning Time |
|---|---|
| Pale Ales and IPAs | 2-4 weeks (best enjoyed fresh) |
| Wheat Beers | 2-3 weeks |
| Amber and Brown Ales | 3-6 weeks |
| Stouts and Porters | 4-8 weeks |
| Belgian Styles | 4-12 weeks |
| High-Gravity Beers | Several months to a year |
| Lagers | 6 weeks or longer |
I’ll be honest, the waiting is the hardest part of homebrewing. But every time I’ve been patient, the beer has rewarded me for it. That first pale ale I rushed to drink after two weeks was fine. The same recipe with an extra month of conditioning was noticeably better.
Final Thoughts: When Can I Really Drink My Homebrew?
So, how long does homebrew beer take? The answer depends on your brewing method, the beer style, and how much patience you have.
For a quick summary:
- Extract brewers can have a simple ale ready to drink in roughly 4 to 6 weeks from brew day.
- Partial mash and all-grain brewers are looking at a similar post-brew-day timeline, just with a longer initial brew day.
- Lagers, high-gravity beers, and certain Belgian styles can take several months from start to finish.
If there’s one piece of advice I’d pass along from my own brewing journey, it’s this: don’t rush it. Nearly every batch I’ve made has tasted better with a little extra time. Brew day is exciting, and the temptation to crack open that first bottle the moment it’s carbonated is real. But giving your beer even an extra week or two of conditioning makes a noticeable difference.
Whether you’re brewing your first extract kit or dialing in an all-grain recipe, the process is the same at its core: make wort, let yeast do its thing, package it, and wait. The timeline might shift, but the reward at the end is always worth it.
If you’ve got any questions or want to share your own brewing journey, drop a comment below. Cheers!
© 2026 by brewandbeyond.com. All rights reserved. No part of this document may be reproduced or transmitted in any form or by any means, electronic, mechanical, photocopying, recording, or otherwise, without prior written permission of brewandbeyond.com.
Author: Dean
The Brewer's Corner - The place where I answer your homebrew questions (Beer, cider, wine, mead.....). Nothing is too crazy. You can reach me at TheBrewersCorner@proton.me